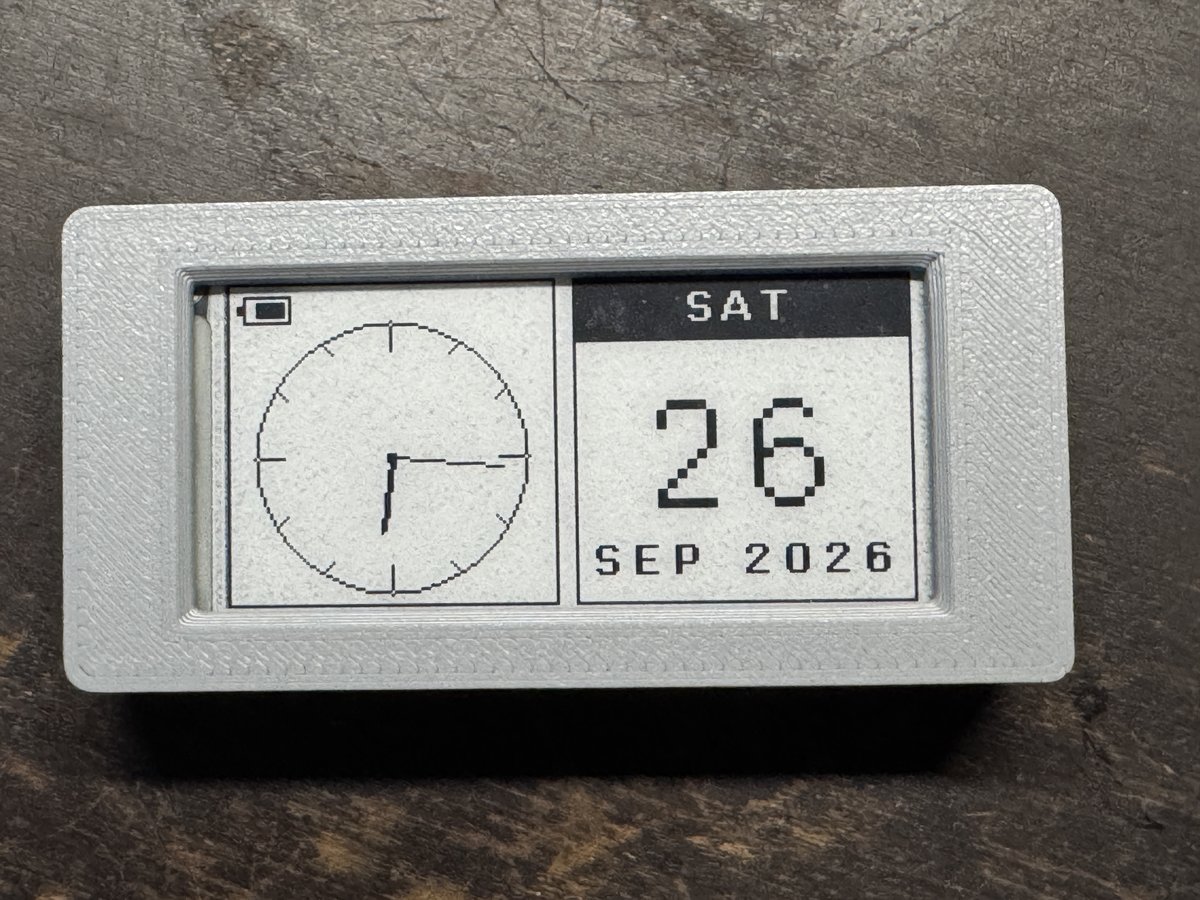
Hacking a HEMA ESL into a BLE Clock
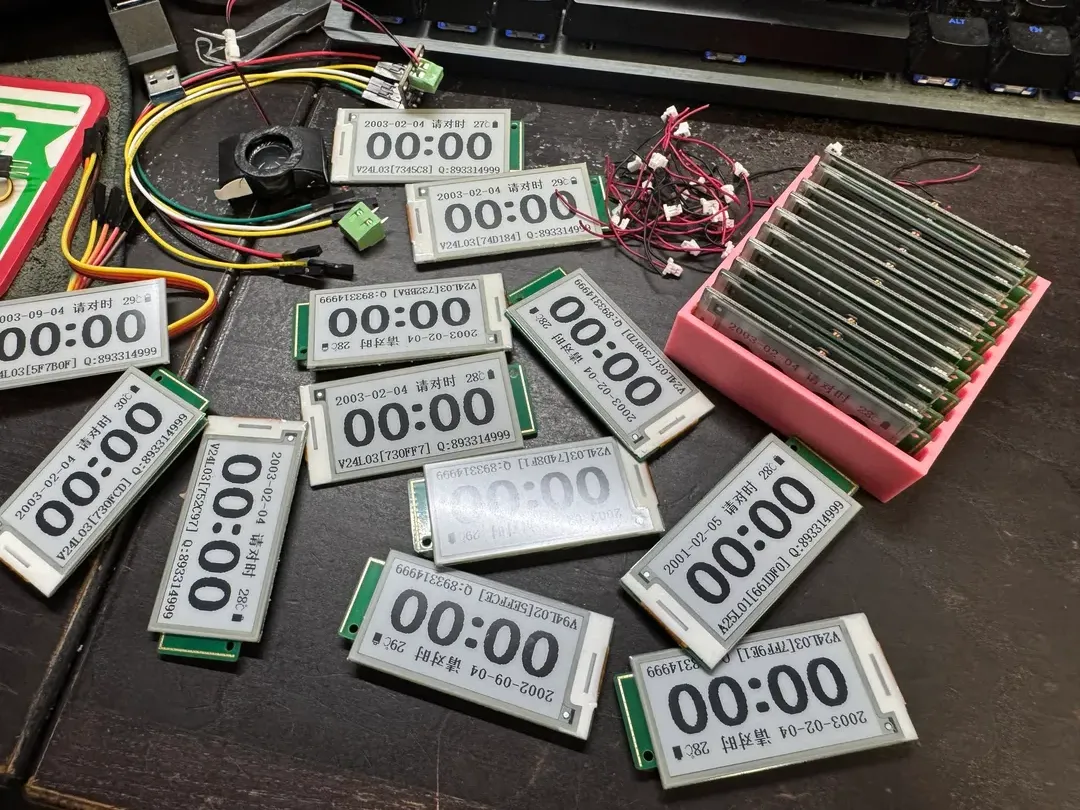
I ordered a batch of 12 used 2.13-inch ESLs (electronic shelf labels). 11 turned out to be HEMA, 1 was a Zink. With reused ESLs you never really know what you’re going to get.
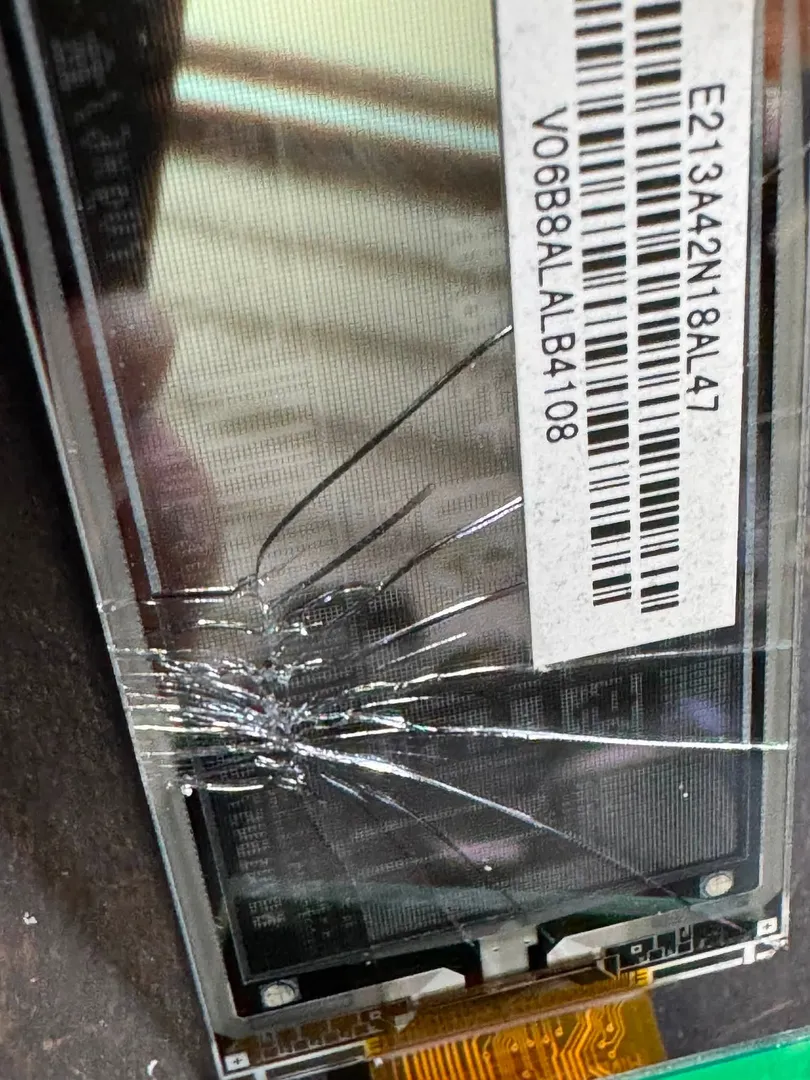
After that I got a second batch, this time of unknown condition. Some boards were good, some had cracked EPDs. In the end I have about 30+ good pieces to play with.
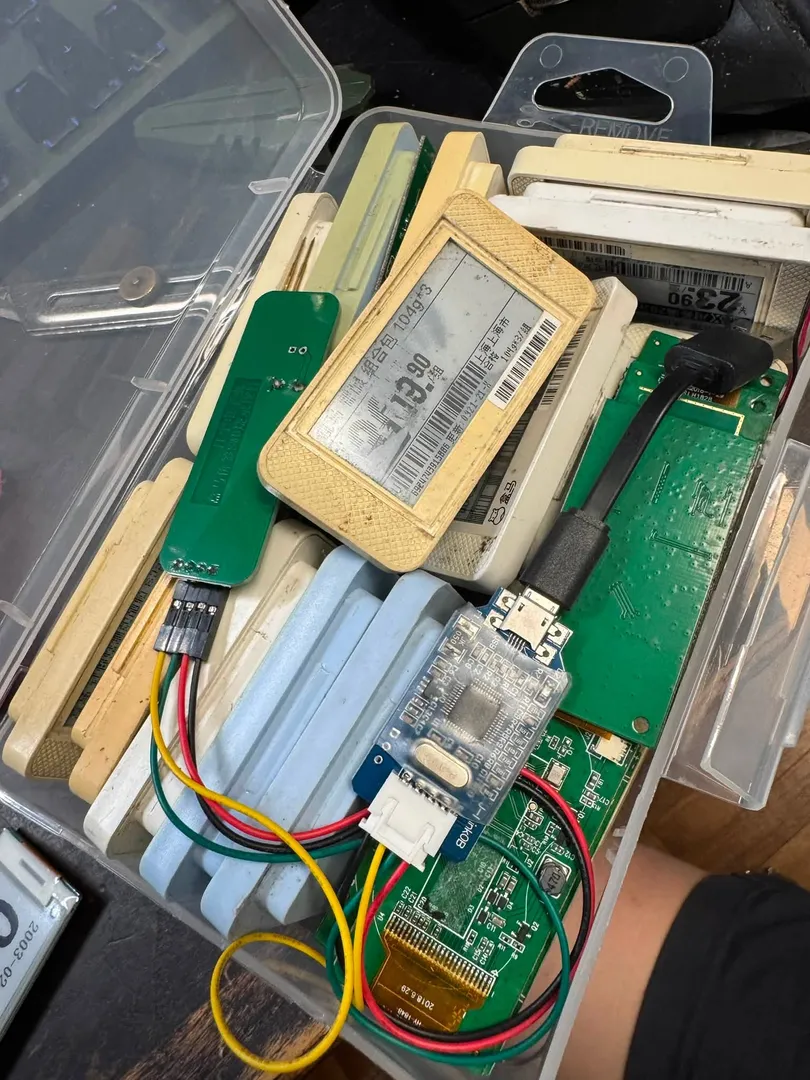
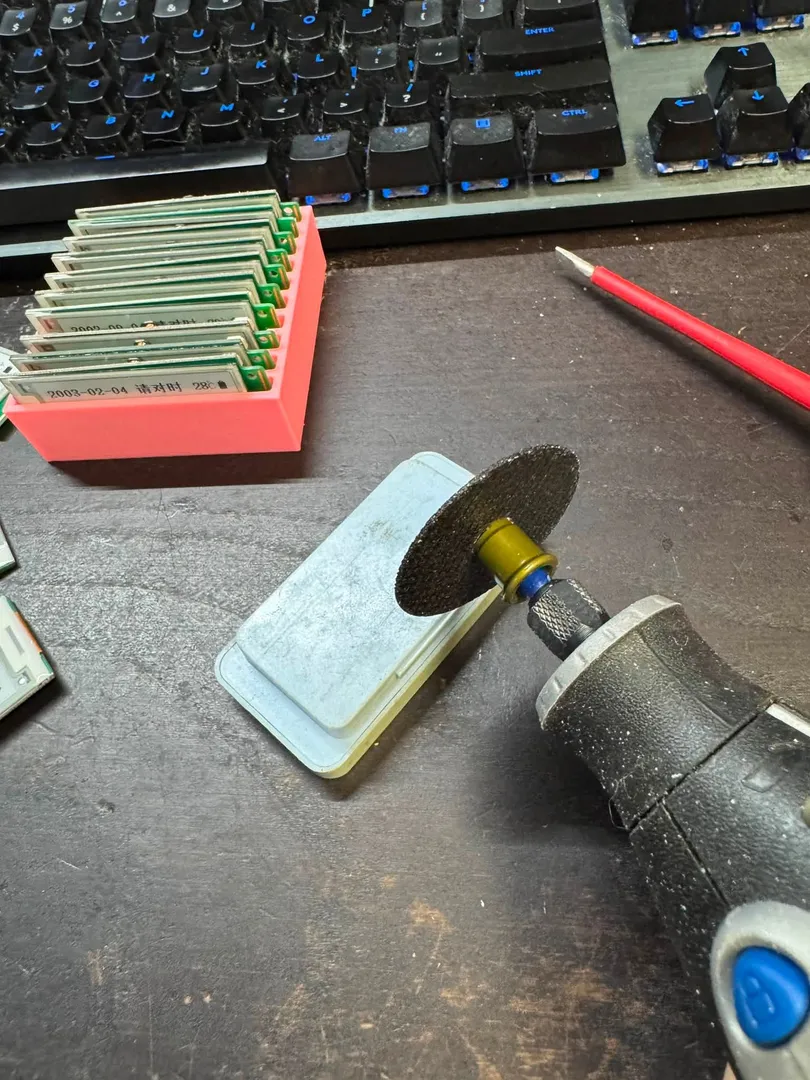
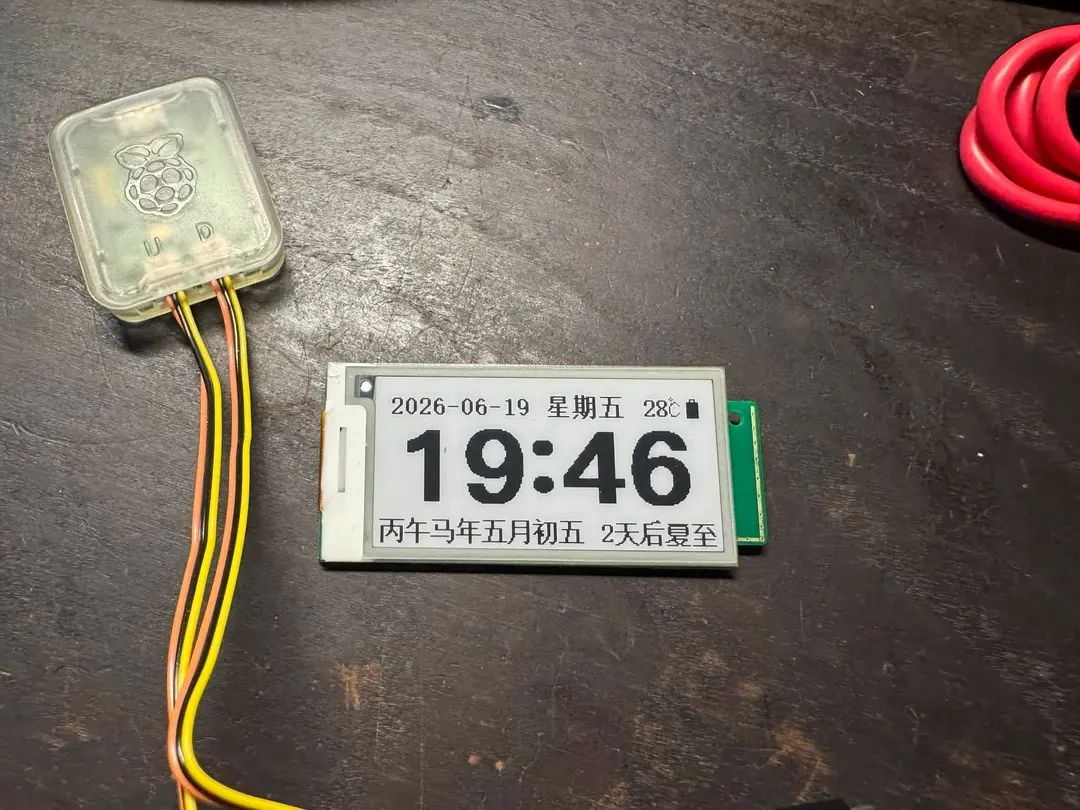
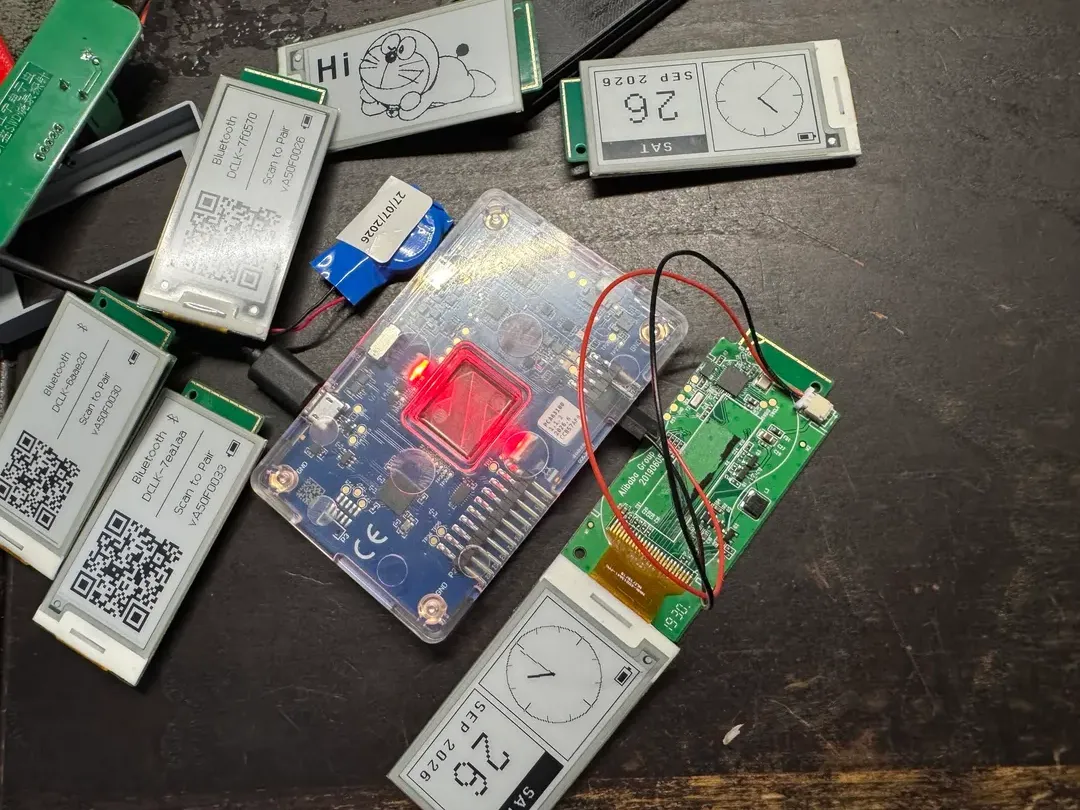
The batteries aren’t user-replaceable, so when the cells die the whole tag gets thrown away. That’s a shame, because inside is a Bluetooth MCU, a flash chip and a nice e-paper panel. Mine even came pre-flashed with a clock. All the text was in Chinese though.
So this is the story of turning it into an clock and calendar, and what I learned about how these tags work.
Why I bought them
The real goal is booking displays for the 3D printers at our community space. Glance at the tag, see who is using which printer and for how long, pulled live from our booking system. The clock is the warm-up project. Get the toolchain working, understand the hardware, then decide what to do next (probably rip out the EPD and use an ESP32 for easier cloud stuff).
Finding a codebase
This is where it got tricky. Every HEMA project I found was in Chinese and hosted on Chinese sites. I found English projects for other ESL brands, but nothing that worked with this hardware. So I made do with the Chinese one. It’s a fork of tpunix’s HMCLOCK, and I’m grateful it exists.
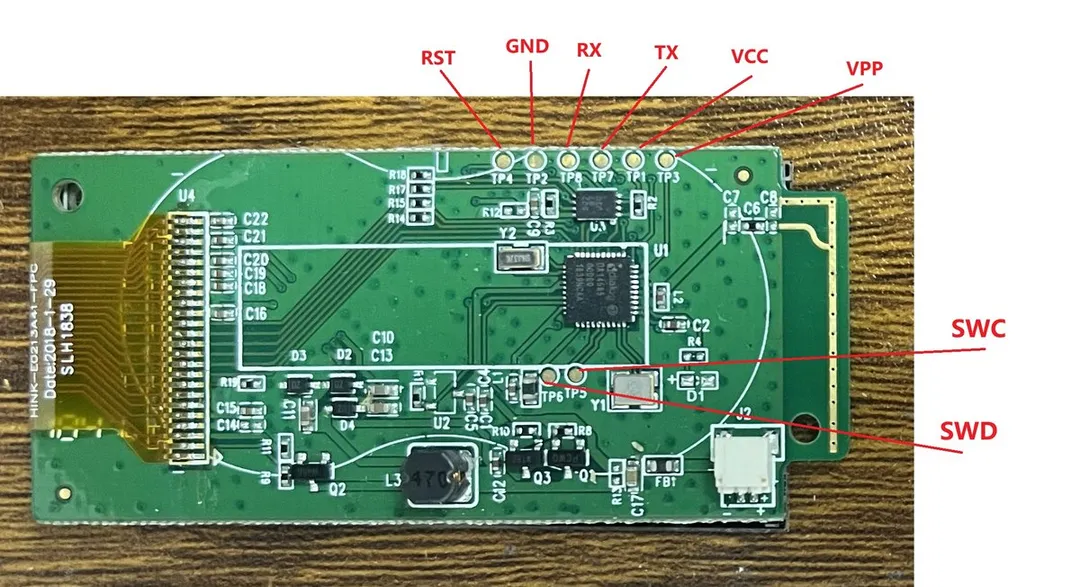
The MCU is a DA14585 from Dialog (now Renesas). It’s well documented, which helps a lot. The Chinese guides say you need the IDE, the SDK and a J-Link, and you program over SWD. UART or OTA is possible after the first flash.
I couldn’t find my J-Link, so I used my Raspberry Pi based programmer instead. You can build one from an RP2040 easily.
Getting it to build
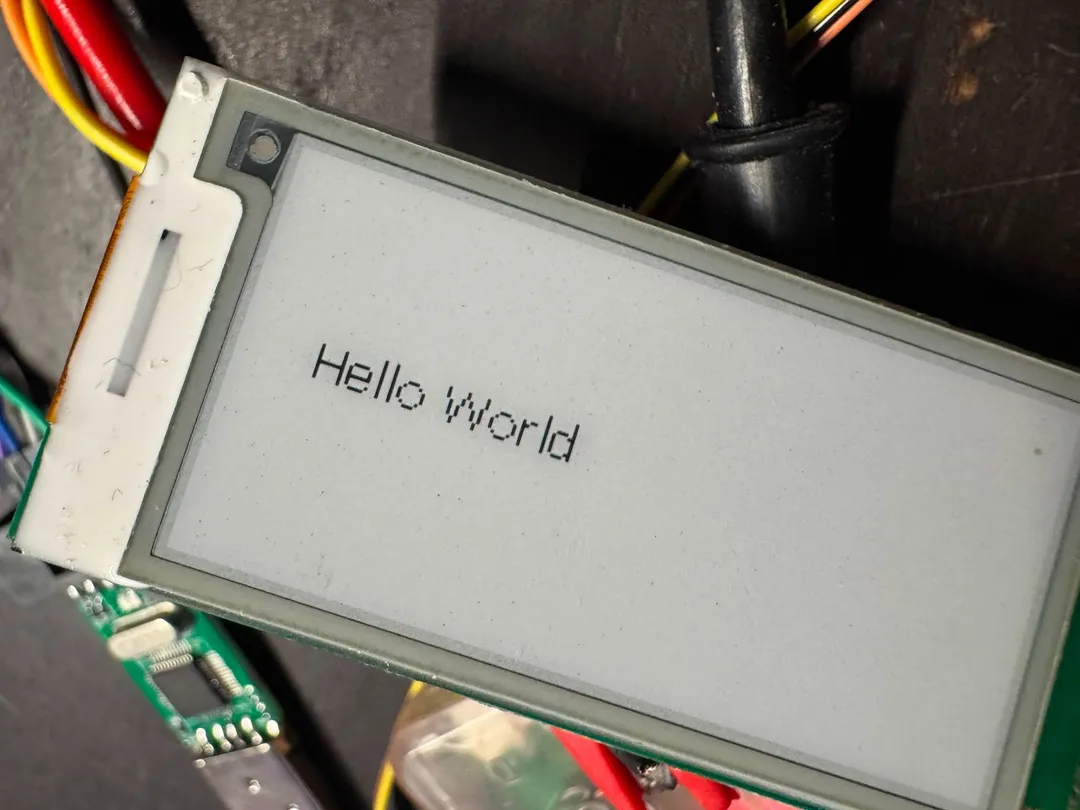
First job: compile the original code without changing anything. That took quite a few tries. Toolchain issues, and deprecated code (the source looks about 4-5 years old). Once it compiled, I flashed it with OpenOCD from the command line. The guides assume you use the IDE, but the command line works fine.
The board has test points for SWD, so a pogo-pin jig means no soldering:
After that:
- Translated the web app and the on-screen text to English
- Removed the lunar calendar (I don’t need it)
- Cleaned up the layout, now an analog clock plus a calendar card
- Fixed a few bugs along the way, including a low-battery check that compared the wrong variable and so never ran
How an ESL actually works
This is the fun part. An ESL is really three things: a tiny Bluetooth SoC, a bit of SPI flash, and a bistable e-paper panel.
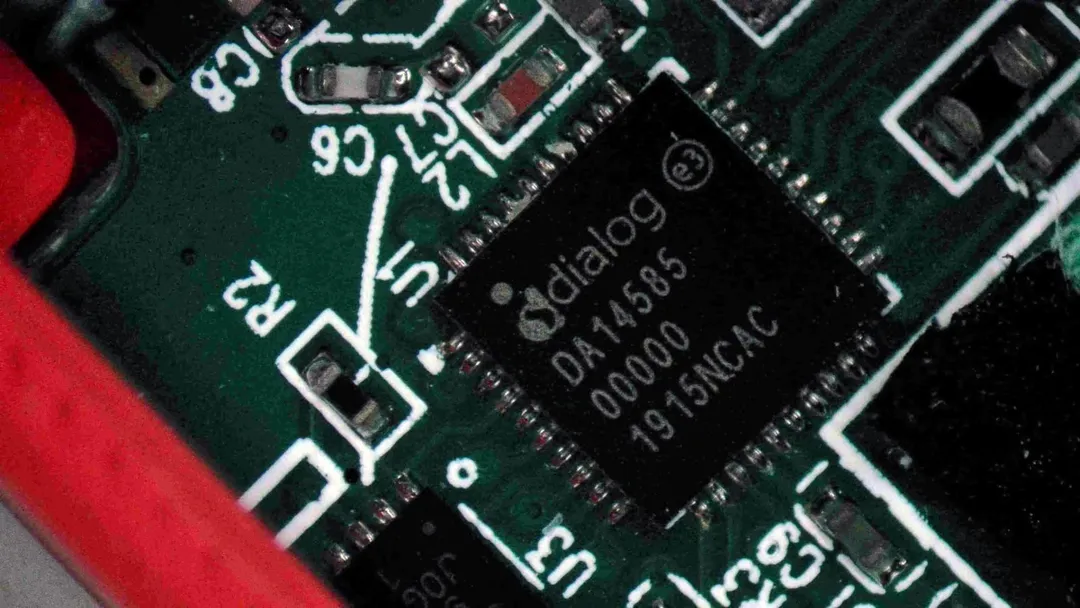
The MCU has no flash
The DA14585 has no internal flash. Firmware runs from RAM. On every power-on the boot ROM reads a product header from the external SPI flash, picks one of two image slots, copies the image into RAM at 0x07FC0000 and jumps to it.
That has a few consequences:
- The firmware persists because it copies itself into the flash. Run it once from the debugger, it installs itself, and the next power cycle boots from flash.
- Slot addresses are not fixed. On most units they are
0x4000and0x1F000. On some units (mine) they are0x2000and0x4000, and they overlap. My updates kept reverting until I figured out that the boot chain always boots slot 0, no matter the generation id. - Fun bug: the generation id is 1 byte, and once it passed
0x7Fit became negative, so the newest image ranked below all the others.
The same flash also holds the panel pinout, the panel resolution and any uploaded image. The pinout is stored in flash, so the firmware works out which display it’s talking to.
The panel is just SPI
The panel connects over a 24-pin FPC. The signals that matter are:
- SCLK and SDI for SPI
- nCS chip select
- D/C, data or command
- nRST reset
- nBUSY, the panel tells you when it’s still refreshing
- PWR_EN, a switch so the MCU can cut power to the panel completely between updates
The panel and the onboard SPI flash share the same clock and data pins. Only the chip-select lines differ. There’s also a fallback pinout in the firmware, in case the first one doesn’t detect a panel.
The controller on these is an IL3897 / SSD1675B, and the firmware just draws into a 1-bit framebuffer (212 x 104) and sends it over.
E-paper only uses power when it changes
E-paper is bistable. Once the picture is drawn, it stays with zero power. All the energy goes into the refresh. That’s why an ESL can run for years on a coin cell.
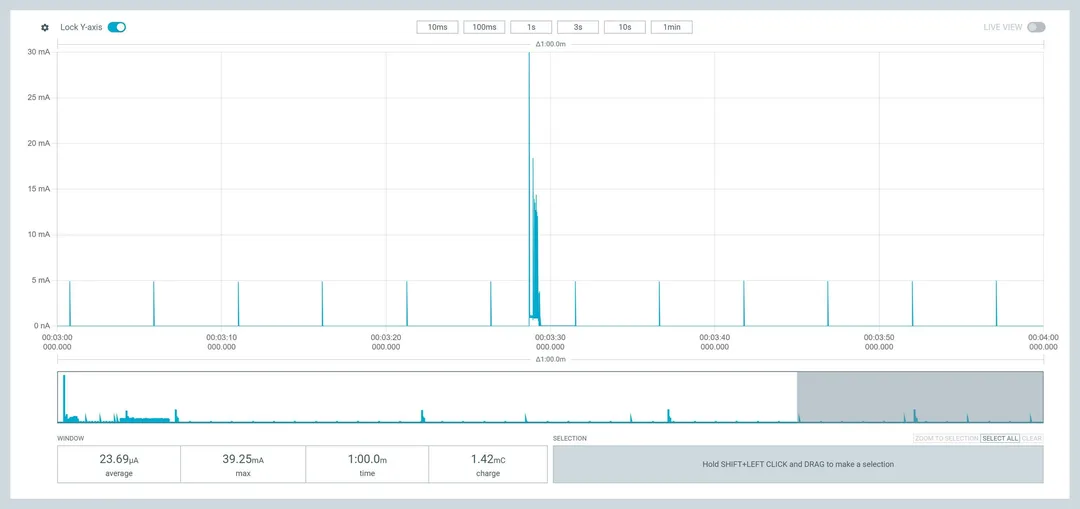
But not all refreshes are equal:
- FULL refresh flashes the whole panel. Slow (3-4 s), clean, and the most power. About 5-6 mC.
- FAST refresh is quicker but leaves some ghosting. About 2.9 mC.
- FLY, the one I use every minute, is quick and cheap. About 0.84 mC, around half a second.
Fast and partial refreshes leave ghosting behind, so the clock does a full refresh every 3 hours and a black scrub at midnight to clear it. Even the old red price-tag highlights from the stock firmware show up as ghosts until you scrub them.
Also, a full refresh pulls over 100 mA briefly at boot, which is a lot for a coin cell.
Bluetooth and the web app
Setting the time is done with Web Bluetooth from a page hosted on GitHub Pages. Open it in Chrome or Edge, connect, hit Sync Time. Same page does calibration, firmware update over BLE, and an image mode where you upload any picture and it gets dithered to 1-bit for the panel.
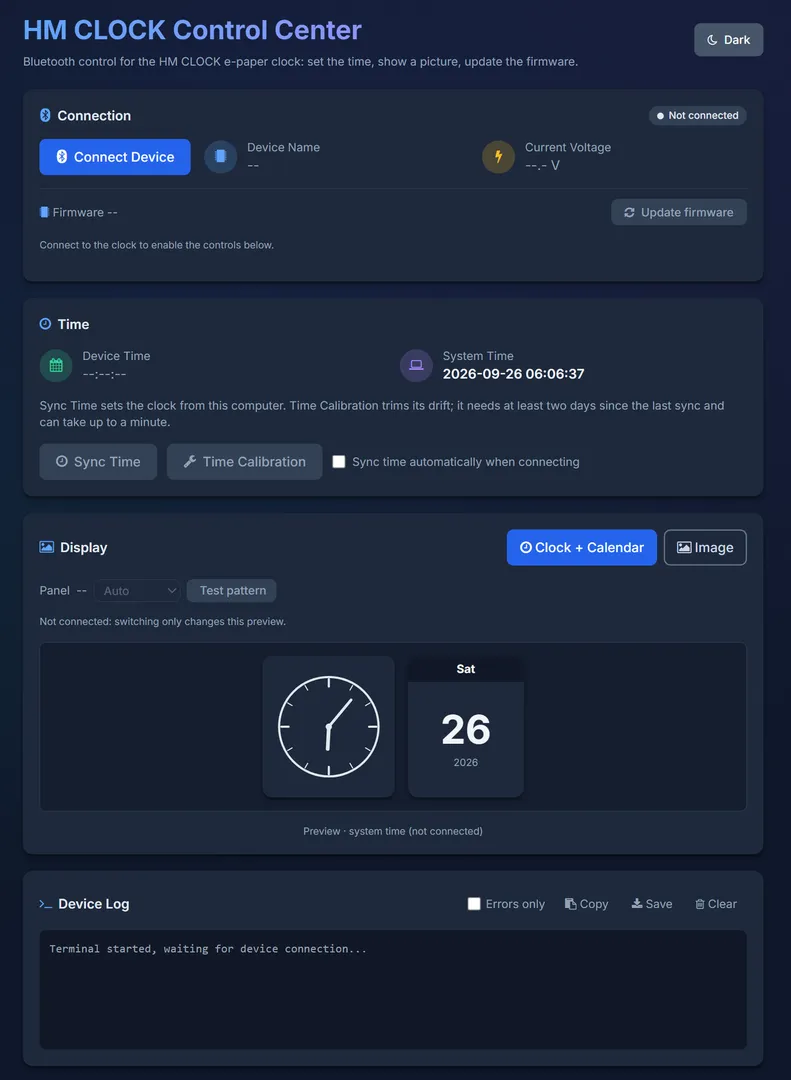
The clock runs about 2 seconds fast per day out of the box, so there’s a calibration button. Sync, calibrate, sync again.
Power budget
I measured with a Nordic Power Profiler Kit II. Rough numbers:
| State | Current |
|---|---|
| Sleep | about 3 µA |
| Advertising every 5.12 s | about 5.3 µA average |
| Advertising every 0.69 s (pairing screen) | about 19 µA average |
| Connected, idle | about 95 µA |
| Steady state, ticking every minute | about 26 µA |
Surprises:
- With nothing scheduled the BLE stack idles at about 18 µA. With a periodic advertising event it’s about 3 µA. So the clock always advertises, slowly, and that saves battery. A 10.24 s interval was too slow for a phone or browser to find it. 5.12 s works.
- The panel refresh is the majority of the budget. Refreshing less often saves far more than any radio trick. Shortening the FLY phase and dropping the fast tick took the average from about 40 µA down to about 26 µA.
Battery life estimates, with usable capacity derated to about 65% because the 30-40 mA refresh pulses sag a coin cell:
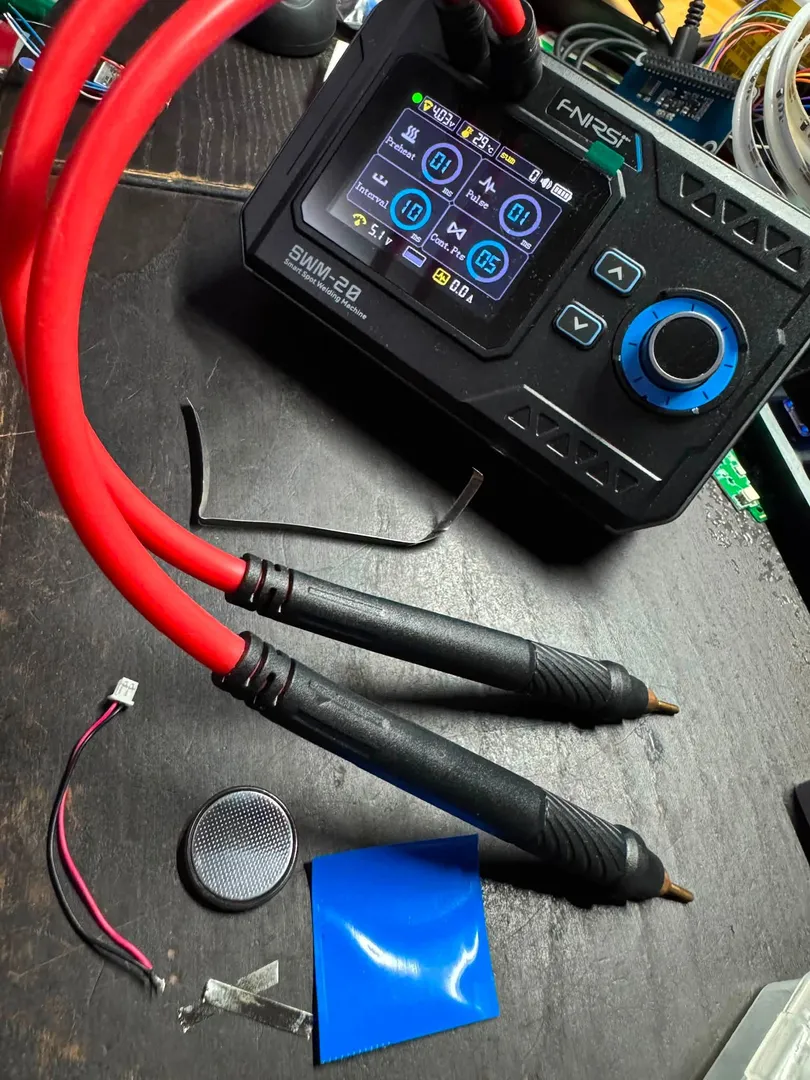
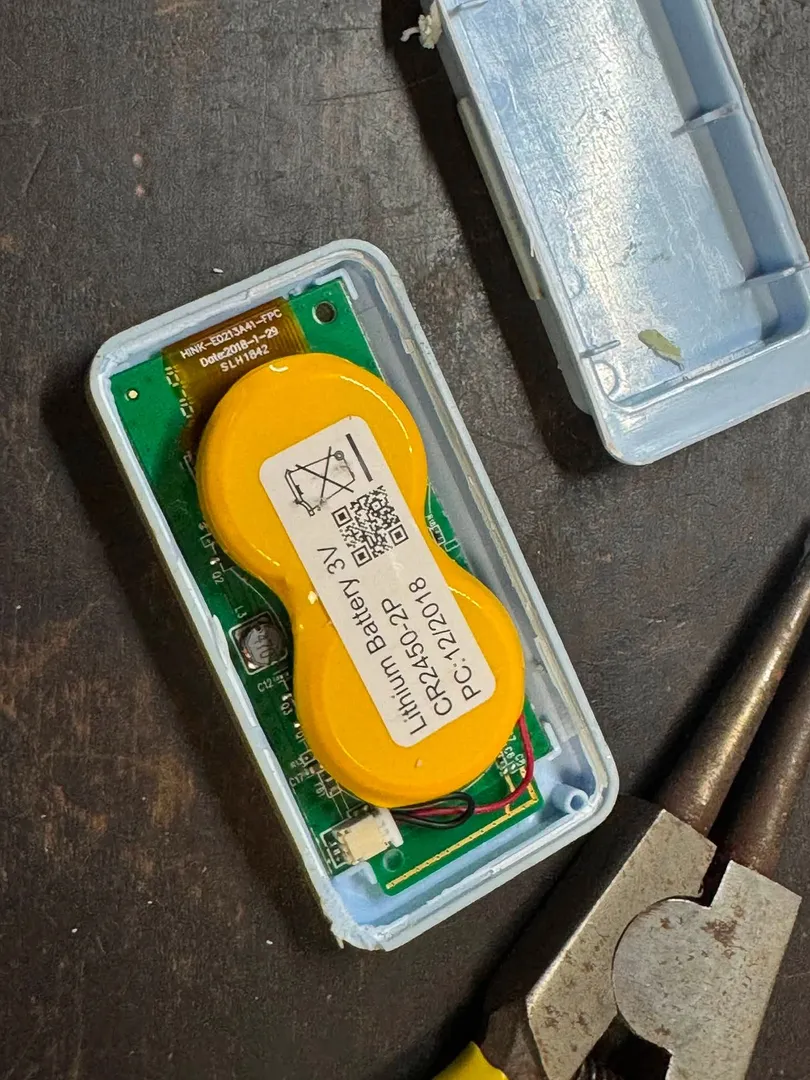
- 1 x CR2032, about 210 days (marginal, voltage sag)
- 2 x CR2032 in parallel, about 420 days
- 2 x CR2450, about 1000 days
These are estimates, not long-term measurements. I’ll update when I have real data.
Custom images
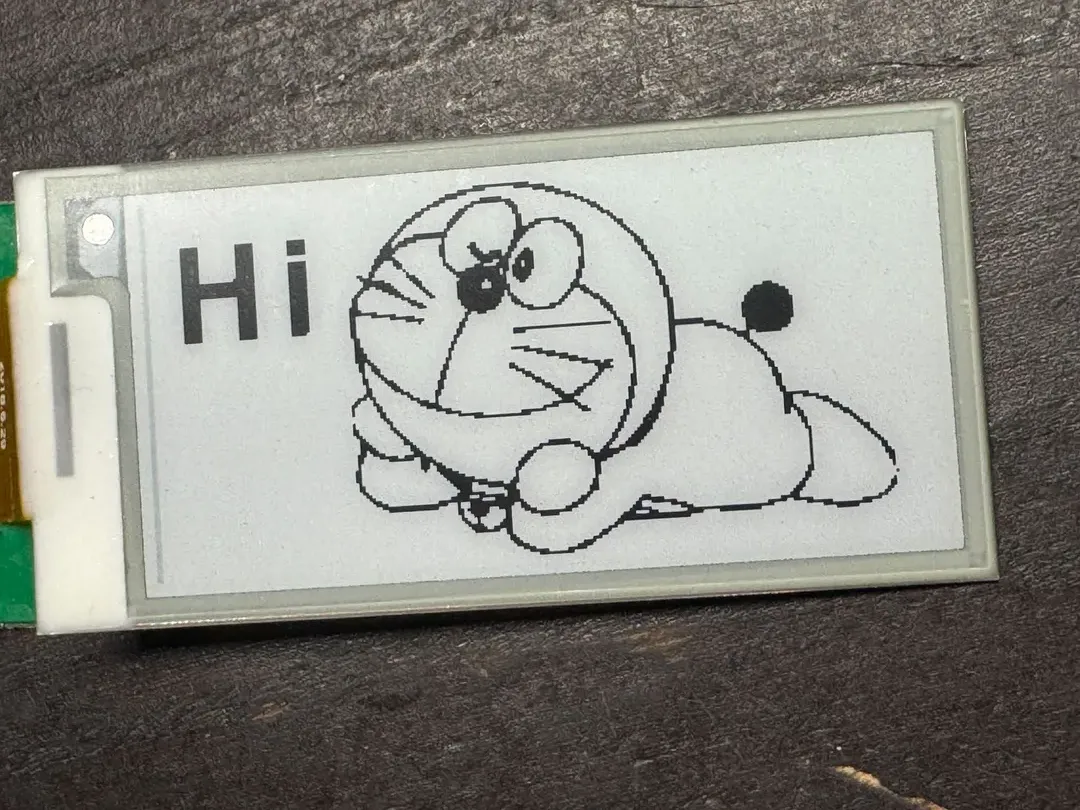
I added a custom image function to the web app. You open the page, connect over Bluetooth, and instead of syncing time you upload a picture.
The browser handles the conversion — scales to the panel’s 212 x 104 resolution, dithers to 1-bit, and shows you a preview before sending. Once you hit send, it goes over BLE and the tag does a full refresh. Takes a moment and burns about the same as any full update.
The results are exactly what you’d expect from a 1-bit e-paper panel: great for logos, line art, and text, less great for photos. If you want a photo to look decent, bump the contrast and simplify it first. The dithering helps, but there’s no grey, only black and white.
A couple of notes:
- The image stays until the next full refresh. If you want the clock back, just sync time or power cycle.
- It’s a full refresh every time, so don’t use it as a slideshow unless you have a battery budget to match.
- Start with a high-contrast source. Low-contrast images just turn to mud.
It’s not a photo frame. But it’s a nice way to label a shelf or leave a note.
Try it yourself
- Web app to connect and sync: https://terenceang.github.io/HMCLOCK-EN/
- Repo: https://github.com/terenceang/HMCLOCK-EN
The repo isn’t super tidy yet and the README needs a rewrite (some of it is AI slop, I’ll find time to clean it up). Report issues on the repo. If you have an interesting feature, pull requests are welcome.
I ordered too many of these.
Revamped web app and firmware, 25/09/2026.